Precision Dispensing
TECHSiL are proud to partner with Nordson EFD to delvier innovative precision technology in fluid dispensing, helping Customers find the right fluid dispensing system or dispensing consumable solution for their application.
Fluid Dispensing Systems
Nordson EFD fluid dispensing systems include high-quality machines and fluid dispensing equipment designed to enable automation, precision, accuracy, speed, and reliability.
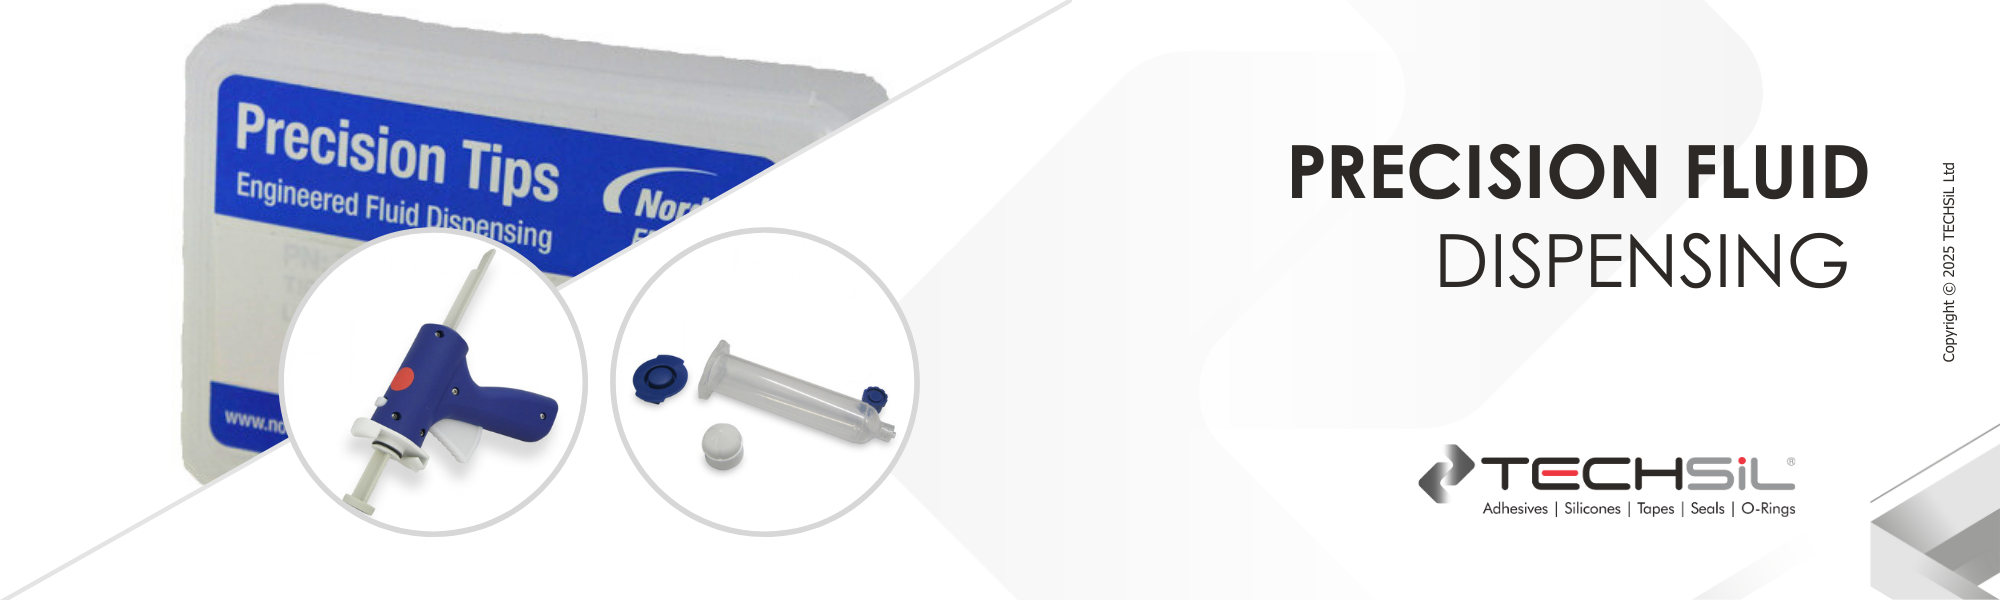
Fluid Dispensing Consumables
Nordson EFD fluid dispensing consumables including single-use fluid packaging items; including high quality, clean room standard cartridges, syringe barrels, dispense tips and needles, static mixers, and more.
There are no articles available for this category